
Last updated October 17, 2026
 Metal roofing
 Architectural shingles
 Tile roofing
 GAF
GAF Owens Corning
 Flat & low-slope
Free roof inspection with deck photos before we talk money - GAF and Owens Corning certified installation
Roofing Company Maintenance Checklist for San Francisco Homeowners
The single most expensive roofing mistake in San Francisco isn’t ignoring a missing shingle. It’s ignoring a clogged interior drain on a flat or low-slope roof during October. One blocked scupper during the first atmospheric river can cause $15,000 to $40,000 in water damage in under 48 hours. This guide lays out a maintenance checklist built specifically for San Francisco’s fog, wind, and rain patterns, not a generic list copied from a Sun Belt roofing blog. For more guides & resources, see our blog. You’ll learn what to check, when to check it, what you can safely do yourself, and what belongs in a contractor’s hands.
Styles & brands we work with
Quick Answer
A roof maintenance checklist for San Francisco homeowners boils down to this: clear all five drainage points on flat and low-slope roofs before November 1, inspect for fog-driven granule loss every spring, check flashing and sealant at roof penetrations twice a year, document everything with dated photos, and have a licensed contractor inspect the roof every two to three years through our Roofing Company services. The annual cost of disciplined maintenance runs roughly $200 to $600 for a typical San Francisco home, versus $12,000 to $35,000 for a full replacement after years of neglect.
Table of Contents
- Why San Francisco Roofs Fail Differently
- The Month-by-Month San Francisco Maintenance Calendar
- The Five Drainage Points to Clear Before November 1
- Understanding Fog-Driven Granule Loss on Asphalt Shingles
- What to Inspect From the Ground vs. What Requires a Contractor
- Documenting Maintenance for Insurance and Warranty Claims
- Common Mistakes to Avoid
- When to Call a Professional
- Frequently Asked Questions
- The Bottom Line
Why San Francisco Roofs Fail Differently
Most roofing maintenance guides are written for places with four predictable seasons and a lot of sun. San Francisco has neither. The city gets roughly 23 to 25 inches of rain per year, nearly all of it between November and March. The summer months bring persistent coastal fog, especially on the west side in neighborhoods like the Sunset, the Richmond, and Parkside. That fog is not clean moisture. It carries salt and acidic compounds picked up over the Pacific, and when it condenses on roof surfaces, it accelerates corrosion on flashing, eats at some sealants, and contributes to a specific pattern of granule loss on asphalt shingles that looks different from sun-baked UV damage or hail impact.
Then there’s the wind. San Francisco regularly sees sustained winds of 20 to 30 miles per hour during dry periods in September and October, with gusts higher along ridge lines and on west-facing slopes. That wind gets under loose shingle edges, lifts poorly fastened flashing, and drives debris into gutters and scuppers. When the first real rain arrives in late October or early November, those small failures turn into leaks fast.
Flat and low-slope roofs are common in San Francisco. Think the classic row houses in Noe Valley, the Mission, Bernal Heights, and Potrero Hill, plus countless garages and additions across the city. These roofs depend entirely on drainage. If water pools more than 48 hours after a storm, the membrane is working harder than it should, and every puddle is a future leak. The combination of marine air, wind-driven debris, and drainage-dependent roof geometry means a San Francisco homeowner’s maintenance checklist has to emphasize water movement first and shingle appearance second.
Our crews at Brennan Roofing Co San Francisco home have walked hundreds of roofs in this city. The damage pattern is consistent: the shingle roof that leaks is usually missing granules at the eaves from fog exposure. The flat roof that leaks is usually holding water because a drain was ignored. Neither failure shows up in a generic online checklist.
The Month-by-Month San Francisco Maintenance Calendar
The fog season, the rainy season, and the dry-wind period each demand different tasks. Here’s a month-by-month sequence tied to San Francisco’s actual climate, not the generic “spring and fall” advice that works in Ohio or Texas.
September and October: The Critical Pre-Rain Window
- Clear every drainage point. This is the single most important task of the year. More detail in the next section.
- Inspect skylight and pipe boot flashing. Check for cracked sealant, lifted metal edges, and rust. San Francisco’s salt fog works on flashing year-round, but you want repairs done before rain, not after a leak starts.
- Trim overhanging branches. Anything touching the roof will scrape shingles in October wind and drop leaves into drains in November.
- Check roof-to-wall transitions. On flat roofs, look for cracked caulk or pulled-away counterflashing where the roof meets parapet walls. This is a common leak point on Sunset and Richmond district houses.
- Document condition with photos. Wide shots and close-ups. If a storm causes damage, you’ll have a baseline.
November through February: Rainy Season Vigilance
- After every major storm, walk the perimeter. Look for water staining on ceilings, walls, and around chimneys. Catching a small leak after the first storm prevents a big repair after the third.
- Check drains an hour into rain. If water is pooling on a flat roof and not draining, you have a clog. Mark the spot and address it after the rain stops.
- Watch for wind-lifted shingles. After sustained wind events, check for shingles with curled or raised edges visible from the ground.
- Check interior ceilings. Even small discoloration is a signal. A stain the size of a dinner plate means water has been getting in for a while.
March and April: Post-Rain Assessment
- Re-inspect flashing and sealant. Six months of rain and wind stress reveals cracks that weren’t visible in October.
- Look for moss and algae. On north-facing slopes and in shaded areas, winter moisture supports moss growth that holds water against shingles. This is a slow killer of asphalt roofs in San Francisco’s less sunny microclimates.
- Schedule or perform a full roof inspection. If you haven’t had a professional inspection in the last two years, spring is the right time. A Roof Inspection in San Francisco after the rainy season catches damage before summer fog sets in.
May through August: Fog Season Granule Watch
- Check downspout runoff. During heavy fog mornings, look for an accumulation of dark granules at the bottom of downspouts. Some granule loss is normal. Heavy, consistent accumulation signals accelerated wear.
- Inspect low spots on flat roofs. Fog condenses and drips. Pooling fog-water is not the same as rain pooling, but it still stresses membrane seams over time.
- Check vents and caps. Summer is when rusted plumbing jacks and damaged vent caps get noticed. The dry weather makes repairs easier and faster.
- Schedule any major work. If you need a Roof Repair in San Francisco, summer is the most predictable window for scheduling. Contractors are less likely to be delayed by rain cancellations.
The Five Drainage Points to Clear Before November 1
Flat and low-slope roofs in San Francisco are common, and every one of them depends on five specific drainage points. If any one of these is clogged when the atmospheric rivers arrive, water backs up and finds a seam. These five points should be on every homeowner’s pre-rain checklist.
1. Interior Roof Drains
These are the round drains set into the roof surface, connected to pipes that run through the building. Remove the strainer, clear out leaves and built-up silt, and pour a bucket of water through to confirm it flows freely. A clogged interior drain on a flat roof can turn a 200-square-foot section into a pond in one night.
2. Scuppers
Scuppers are the rectangular openings cut through parapet walls that allow water to drain off the roof edge. They often have metal boxes or through-wall flashing. Clear the throat of each scupper and check that the metal isn’t rusted or pulled away from the wall. On Bernal Heights and Potrero Hill homes with parapet walls, a blocked scupper is the most common cause of interior water damage.
3. Gutters
On sloped roofs with gutters, clear them of leaves, pine needles, and the fine debris that San Francisco’s September and October winds deposit. Check downspouts for blockages. A gutter that fills and overflows during a storm sends water down the fascia and behind the siding, even if the roof itself is sound.
4. Downspout Outlets
A clear gutter means nothing if the downspout is clogged three feet down. Use a hose or a plumber’s snake to confirm water exits at ground level. Check that the outlet directs water away from the foundation, not against it.
5. Overflow Drains
Many flat roofs have secondary or overflow drains positioned a couple of inches above the primary drain as a fail-safe. These are easy to overlook because they’re dry most of the year. But they exist for the exact moment the primary drain fails. Clear them every time you clear the primary drains. If your roof doesn’t have overflow drains, ask a contractor about adding them.
Here’s a quick reference table for drainage maintenance:
| Drainage Point | Where It’s Found | What to Remove | How to Test |
|---|---|---|---|
| Interior drain | Flat roof surface, low point | Leaves, silt, roofing debris | Bucket of water, watch flow |
| Scupper | Parapet wall openings | Debris in throat, rust scale | Run water through opening |
| Gutter | Roof edge | Leaves, pine needles, wind debris | Flush with hose after clearing |
| Downspout | Vertical pipe from gutter | Blockages in pipe | Hose at top, check exit flow |
| Overflow drain | Above primary drain on flat roof | Debris, dried silt | Bucket test, same as primary |
Understanding Fog-Driven Granule Loss on Asphalt Shingles
Granule loss on asphalt shingles happens for different reasons, and they’re not all the same. In Phoenix, granule loss is primarily UV-driven: the sun bakes the asphalt, the bond weakens, and granules come off. In Denver, hail impact knocks granules loose in concentrated, circular patterns. In San Francisco, the dominant driver is fog.
San Francisco’s fog is not neutral moisture. It carries salt from the Pacific and acidic compounds from marine air chemistry. When fog condenses on a roof surface overnight and burns off in the morning, it leaves behind a microscopic residue of salt and acid. Over years, that residue works its way into the granule bond and accelerates wear, particularly on shingle edges and along eaves where condensation hangs longest.
Fog-driven granule loss looks distinct. Instead of the broad, even fading of UV damage or the impact craters of hail, fog-driven loss appears as a gradual thinning along the bottom edges of shingles, often concentrated on the west and north sides of the house where fog exposure is longest. You’ll see the fiberglass mat or asphalt layer starting to show through at the shingle butts. In the Sunset and Richmond districts, where fog sits for hours on summer mornings, this pattern can shorten an asphalt roof’s service life by three to five years compared to the same shingle in the Mission or Noe Valley.
What to do if you notice fog-driven granule loss: first, confirm it’s actually accelerated and not normal aging. Some granule loss is expected. A 15-year-old roof losing granules is normal wear. A 7-year-old roof losing granules along the eaves is a problem. Second, check the manufacturer’s warranty. Some brands, including IKO, Atlas, and CertainTeed, have specific provisions for premature granule loss, but your documentation matters. Third, get a professional assessment. If the underlayment is still sound, you may have years of life left. If the asphalt layer is exposed, you’re looking at repair or replacement sooner rather than later.
What to Inspect From the Ground vs. What Requires a Contractor
Most San Francisco homeowners can complete 70 to 80 percent of this checklist without ever leaving the ground. That’s the right way to do it. Walking on a roof without proper training, especially a wet roof or one with a steep pitch, is how people get hurt. For anything beyond visual inspection from ground level or a ladder at the eave, bring in a contractor.
Safe to Inspect From the Ground or a Ladder
- Gutters and downspouts. From a ladder, you can see and clear gutters on a single-story home. Never climb onto the roof itself to clear gutters.
- Shingle edges. Use binoculars to check for curling, missing, or lifting shingles along eaves and rake edges.
- Flashing at visible areas. Skylight flashing, chimney flashing, and pipe boots are often visible from the ground with binoculars.
- Granule accumulation. Check downspout outlets and splash blocks for dark granules after fog events or rain.
- Tree overhang. Walk the property and note any branches within three feet of the roof surface.
- Interior staining. Check ceilings, walls near windows, and attic spaces for discoloration after storms.
Leave to a Contractor
- Walking any roof surface. This includes flat roofs. A membrane roof looks walkable but foot traffic can puncture it, and a wet flat roof is as slippery as ice.
- Clearing drains that are more than a few feet from the edge. Interior drains in the middle of a flat roof require accessing the roof surface.
- Inspecting steep slopes. Many San Francisco homes have roof pitches of 6/12 or steeper. No homeowner should be on those without training and safety equipment.
- Assessing membrane integrity. Cracks, blisters, and seam failures on flat roofs need a trained eye and often a moisture meter.
What to photograph: Take wide shots showing the entire roof plane, close-ups of any damage you spot, shots of drainage points before and after clearing, and dated photos of granule accumulation at downspouts. These photos become your documentation trail, which matters more than most homeowners realize.
Documenting Maintenance for Insurance and Warranty Claims
When a roofing claim fails, it’s rarely because the damage wasn’t real. It’s because the homeowner couldn’t show a maintenance history. Insurance adjusters and warranty departments ask the same question: what did you do to maintain this roof? If the answer is “nothing documented,” the claim gets denied or reduced.
Here’s the paper trail that actually matters:
- Keep a simple maintenance log. A notebook or a note app with date, task performed, and what you observed. “10/14: Cleared gutter at south eave, removed full bag of oak leaves, no visible shingle damage.” That’s a complete entry.
- Take dated photos every time. Phone photos with location data embedded are ideal. Store them in a folder labeled by year and season.
- Save contractor invoices. Every repair, every inspection, every year. Adjusters look for evidence of professional involvement, not just homeowner diligence.
- Document the roof’s age. Know when the roof was installed or replaced. If you don’t know, a contractor can often estimate from permit records or material condition.
- Keep warranty documents accessible. Manufacturer warranties for shingles and membranes, plus contractor workmanship warranties. Most require proof of professional installation and some require evidence of maintenance.
If you file a wind damage claim after a big storm, and you can show photos from two weeks earlier showing a clean, well-maintained roof, your claim position is dramatically stronger. If you can’t show anything, the adjuster assumes neglect. This is not paranoia. It’s how the process works.
For flat roofs, add one more piece of documentation: note any ponding water you observe and how long it takes to drain. If you report to your contractor that water is pooling for 72 hours after a storm, that’s actionable information. Ponding that persists beyond 48 hours shortens membrane life and is often a sign of an underlying drainage or slope problem.
Common Mistakes to Avoid
- Skipping the pre-November drainage check. In San Francisco, this one omission is responsible for more water damage than any other maintenance failure. Every flat roof in the city needs its drains cleared before the first major storm.
- Using a pressure washer to clean shingles. High-pressure water strips granules and drives water under shingle edges. If your roof needs cleaning, use a low-pressure rinse or hire a contractor who knows what they’re doing.
- Painting over roof sealant. Some homeowners try to extend the life of pipe boot sealant by repainting it with latex paint. Latex doesn’t bond to silicone or polyurethane sealant and creates a false seal that fails in the first hard rain.
- Ignoring small ceiling stains. A faint water mark on a ceiling is a leak that’s already in progress. Waiting until it’s dripping through a light fixture means the damage has been accumulating for months and the repair cost has multiplied.
- Assuming tile roofs need no maintenance. Concrete and clay tile roofs in San Francisco, including those from Boral, still need flashing, underlayment, and drainage maintenance. The tiles themselves may last decades, but the system around them does not.
- Checking the roof only when it rains. By the time rain reveals a leak, water has already penetrated the decking. The cheap maintenance happens in dry weather. The expensive repair happens in wet weather.
- Hiring a contractor without a written price. This is the mistake that makes every other mistake worse. At Brennan Roofing Co San Francisco, every job starts with a written price before any work begins. If a roofer won’t put the number on paper, walk away.
When to Call a Professional
Some tasks on this checklist are straightforward for a homeowner. Others need a trained roofer. Call a contractor if you see water staining on interior ceilings, persistent granule loss on a roof under ten years old, any visible sagging or deflection in the roof plane, or membrane cracks and blisters on a flat roof. Also call if you’re not comfortable working on a ladder or your roof pitch is steeper than 4/12. San Francisco roofs are unforgiving to anyone without the right equipment and experience.
Brennan Roofing Co San Francisco offers free estimates for maintenance inspections, repairs, and full replacements in San Francisco. Every estimate is a written line-item price before any work starts. Call (831) 318-8819 to schedule your inspection.
Frequently Asked Questions
Basic homeowner maintenance, including gutter clearing, drain cleaning, and visual inspection, costs $200 to $600 per year for a typical single-family home in San Francisco if you do the work yourself or hire a handyperson for the drainage work. A professional roof inspection with documented findings typically runs $250 to $500. Call (831) 318-8819 for a free written estimate on any maintenance or repair work we perform.
Every two to three years is the right interval for most San Francisco roofs, with an additional inspection after any major storm that produces visible damage or leaks. Homes in fog-heavy neighborhoods like the Sunset or Richmond may benefit from annual inspections because fog accelerates wear that a visual check from the ground can miss.
San Francisco fog carries salt and acidic compounds that concentrate along the west-facing and north-facing roof planes where fog lingers longest. This residue accelerates the breakdown of the asphalt bond that holds granules in place. The pattern is gradual thinning along shingle edges, different from the even fading of sun damage or the impact craters of hail.
Yes, if you can reach them safely from a ladder and your roof pitch is walkable with proper fall protection. Most single-story homeowners can clear gutters and edge drains. Anything more than a few feet from the roof edge, or any drain that requires walking the roof surface, belongs with a trained contractor. Walking a wet flat roof is extremely slippery.
You need three things: the original warranty document, proof that the roof was installed by a licensed contractor, and evidence of ongoing maintenance. That evidence includes dated photos, a maintenance log, and receipts for any professional inspections or repairs. Without a maintenance record, warranty claims get denied even when the roof is legitimately failing. Learn more about Roofing Permits, Codes & Inspections in CA: What You Need to Know.
An asphalt shingle roof that might last 25 to 30 years in the Central Valley typically lasts 18 to 25 years in San Francisco’s fog belt, depending on exposure. Tile and slate roofs last much longer, but their underlayment and flashing still need replacement every 20 to 40 years. The microclimate matters more than the material warranty.
The Bottom Line
San Francisco roofs fail from fog, drainage neglect, and deferred maintenance more than from dramatic storms. The checklist that protects your home is specific: clear all five drainage points before November 1, watch for fog-driven granule loss each spring, document every maintenance action with photos and notes, and bring in a professional every two to three years for a full inspection. Homeowners who follow this checklist spend a few hundred dollars a year. Homeowners who don’t spend five figures on water damage and replacement. For a written price before any work starts, call Brennan Roofing Co San Francisco at (831) 318-8819.
Written by Travis Oakley, Owner at Brennan Roofing Co San Francisco, serving San Francisco since 2000.
See the difference
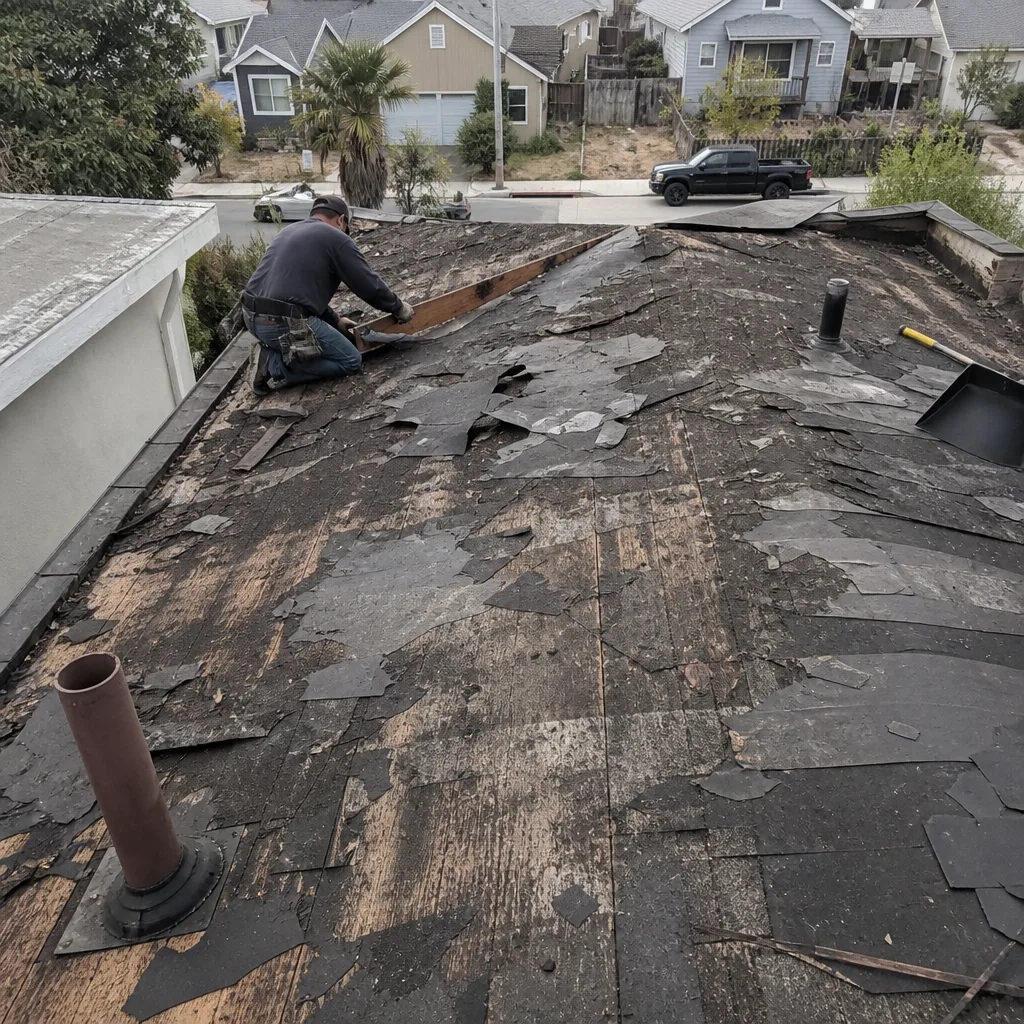 Before
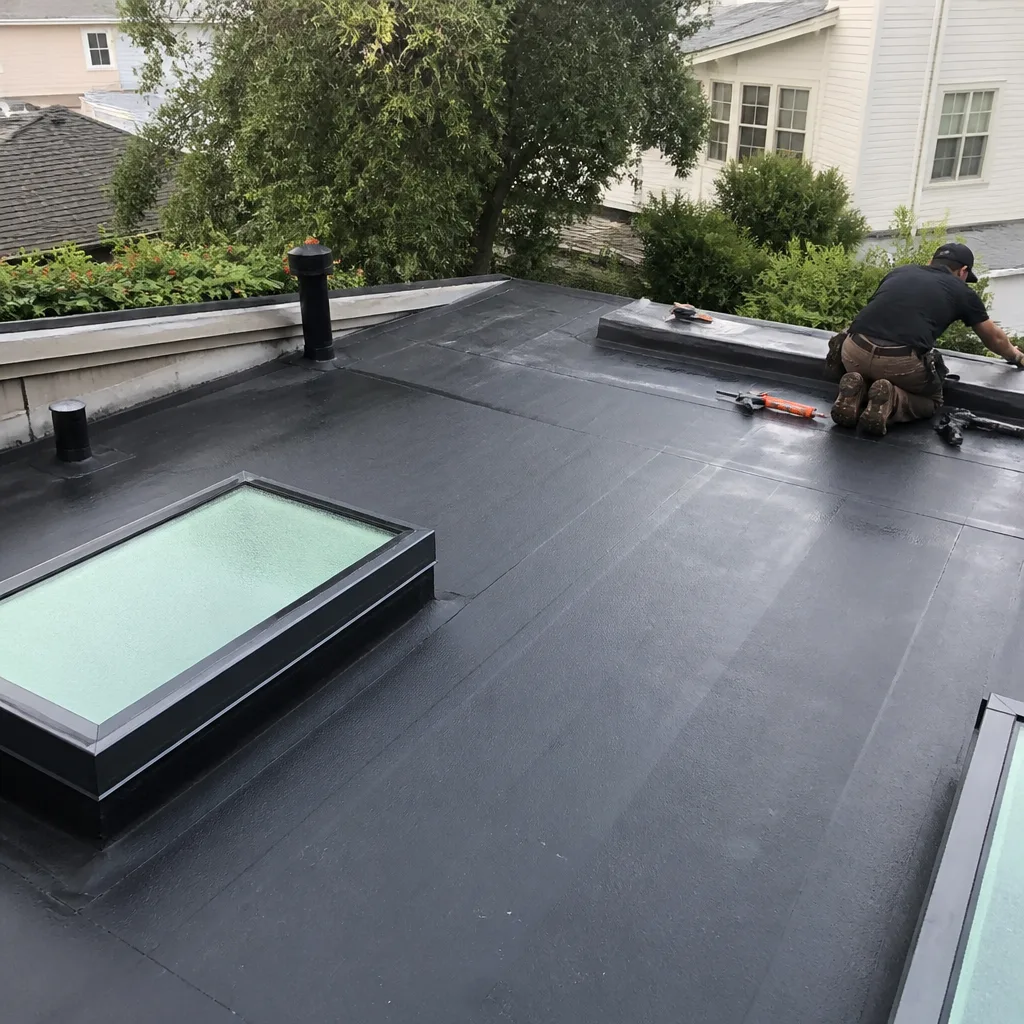 After
After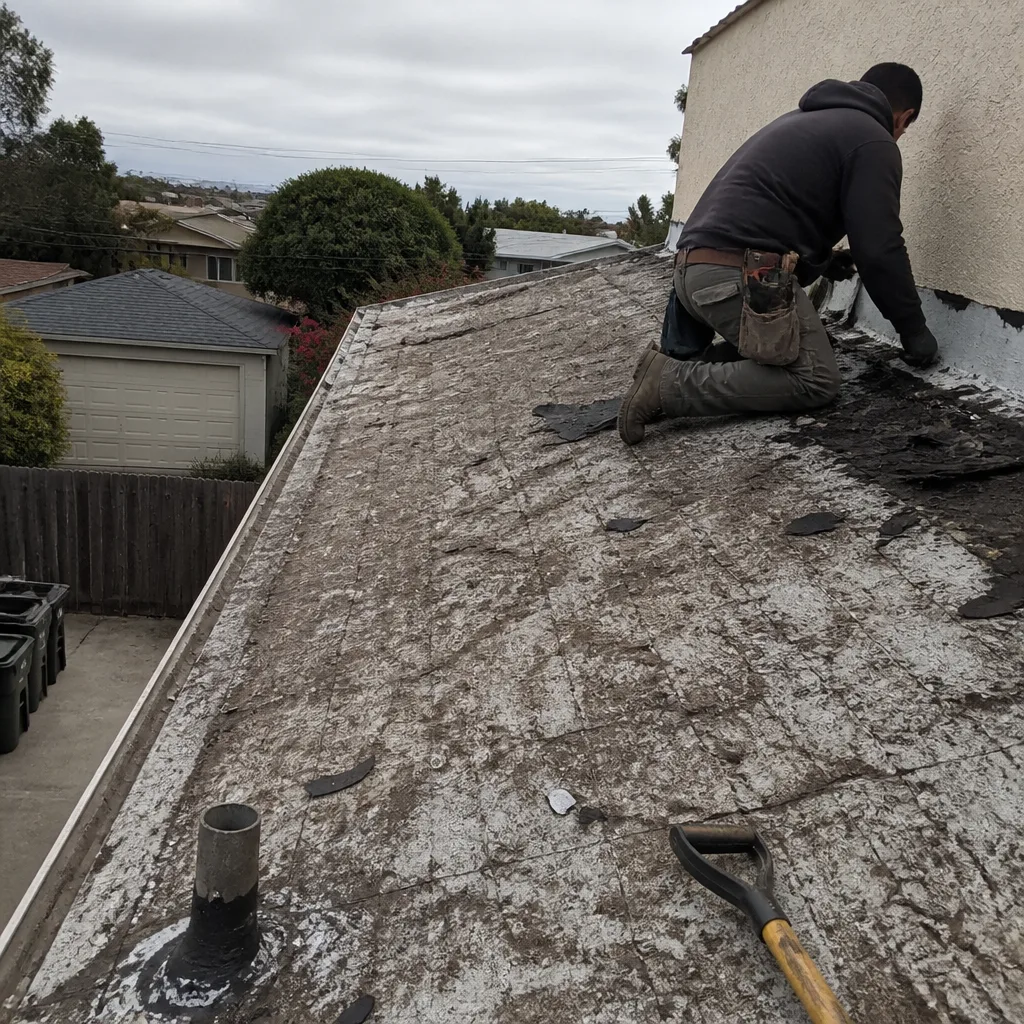 Before
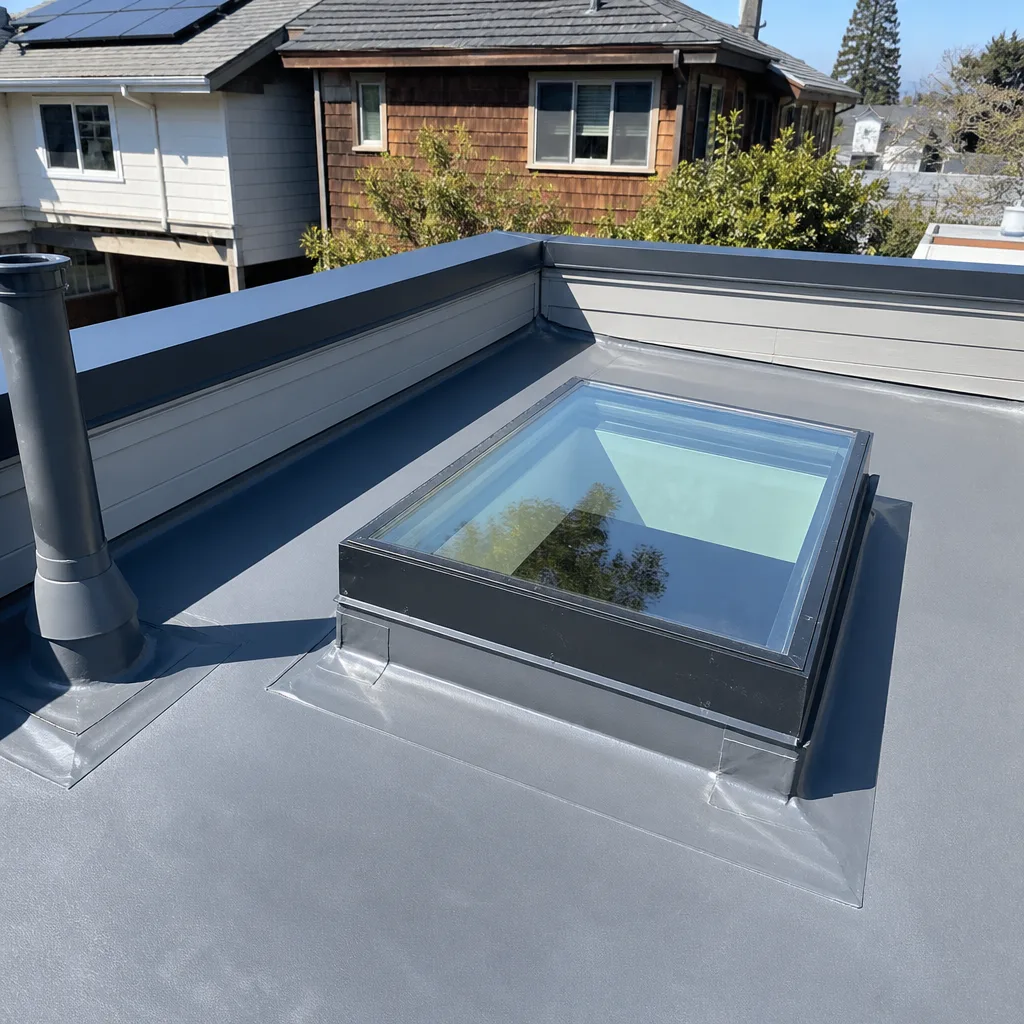 After
After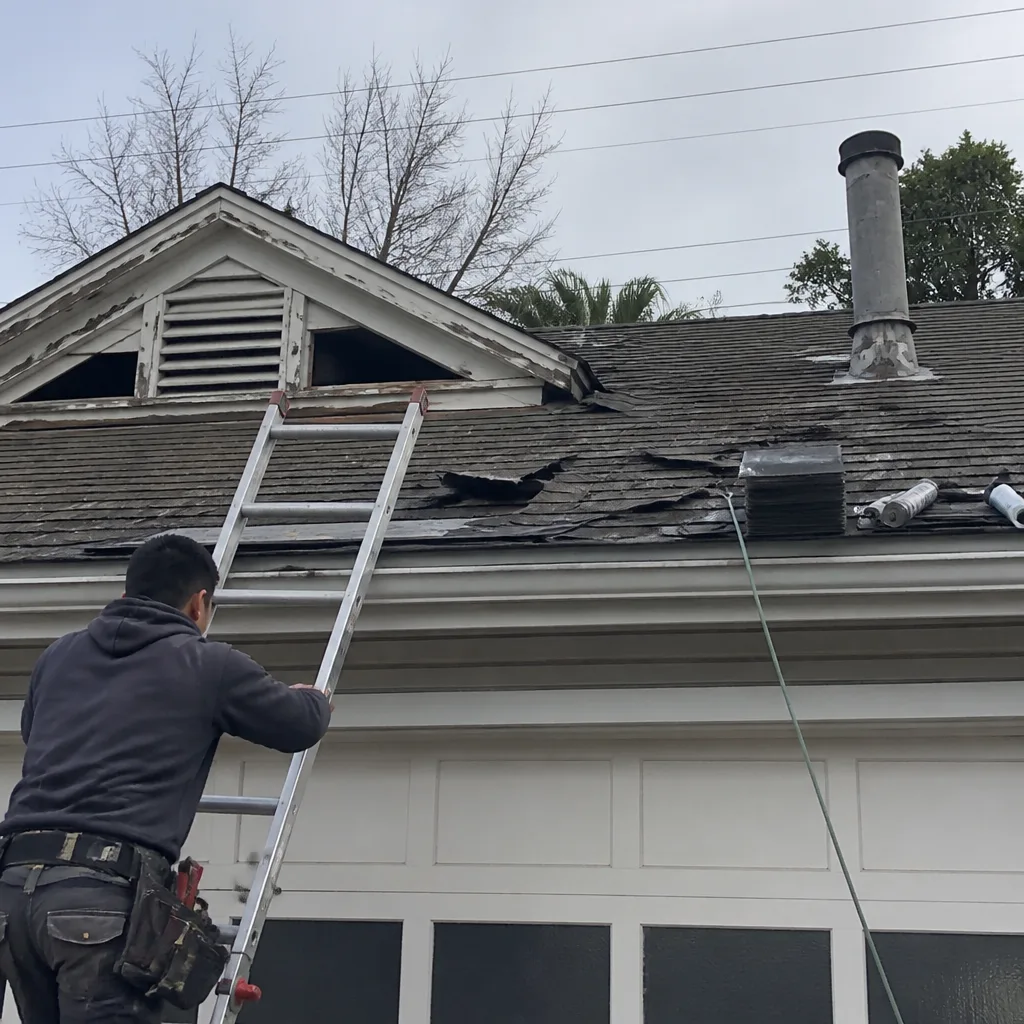 Before
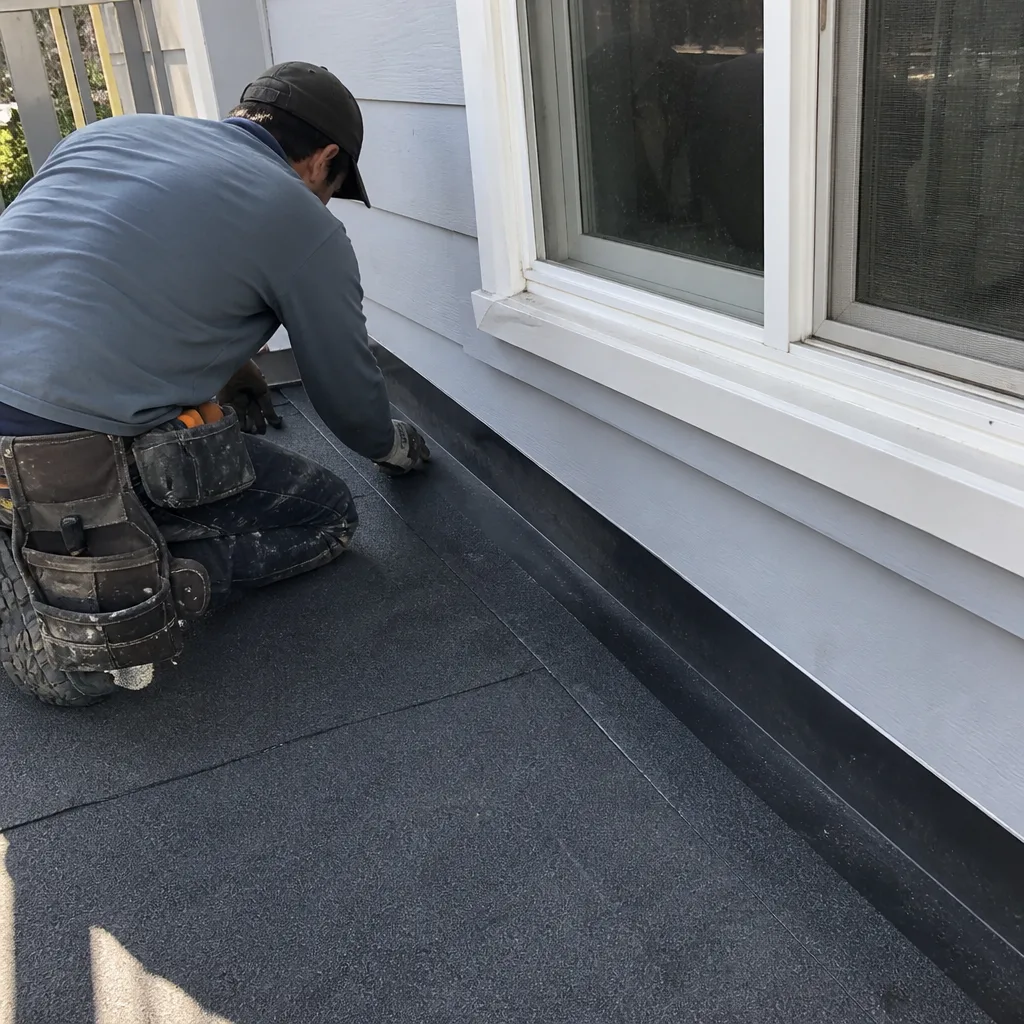 After
After